
So Brinn and I decided to start some home renovations a few months ago. Given our littlest helper, who’s always ready to jump right into a project (literally), our progress has been slow. The first goal we met was in redoing the bathroom floor. Brinn knocked this one out in a weekend while Ian and I went for a weekend visit in West TN for Kathryn’s surprise baby shower. I came home to find the tacky linoleum gone and much more attractive ceramic tiles. Of course one can’t redo just one floor and end there, so I started making plans to complete a gradual remodel throughout the entire house.
My initial plan focussed around finishing the bathroom (repainting the walls and the vanity, installing shelves and a closet, building a medicine cabinet, and having my cousin make a new shower curtain, building and painting a new vanity counter), but some of the plans for the bathroom overlapped with plans I’d made for the kitchen, primarily countertops and painting. Brinn and I had just about decided to go ahead and work on countertops throughout the kitchen and bathroom, then the rains started. This July has experienced more rain than any recent Tennessee summer. Rain and painting don’t tend to mix well, and the countertop plan I concocted required lots of painting. So Brinn and I regrouped and discussed our budget (almost nonexistent). In the middle of all of this, we received fantastic news: his parents were giving us a new stove! I’ve wanted a smooth cooktop stove for years; talk about Christmas in July!
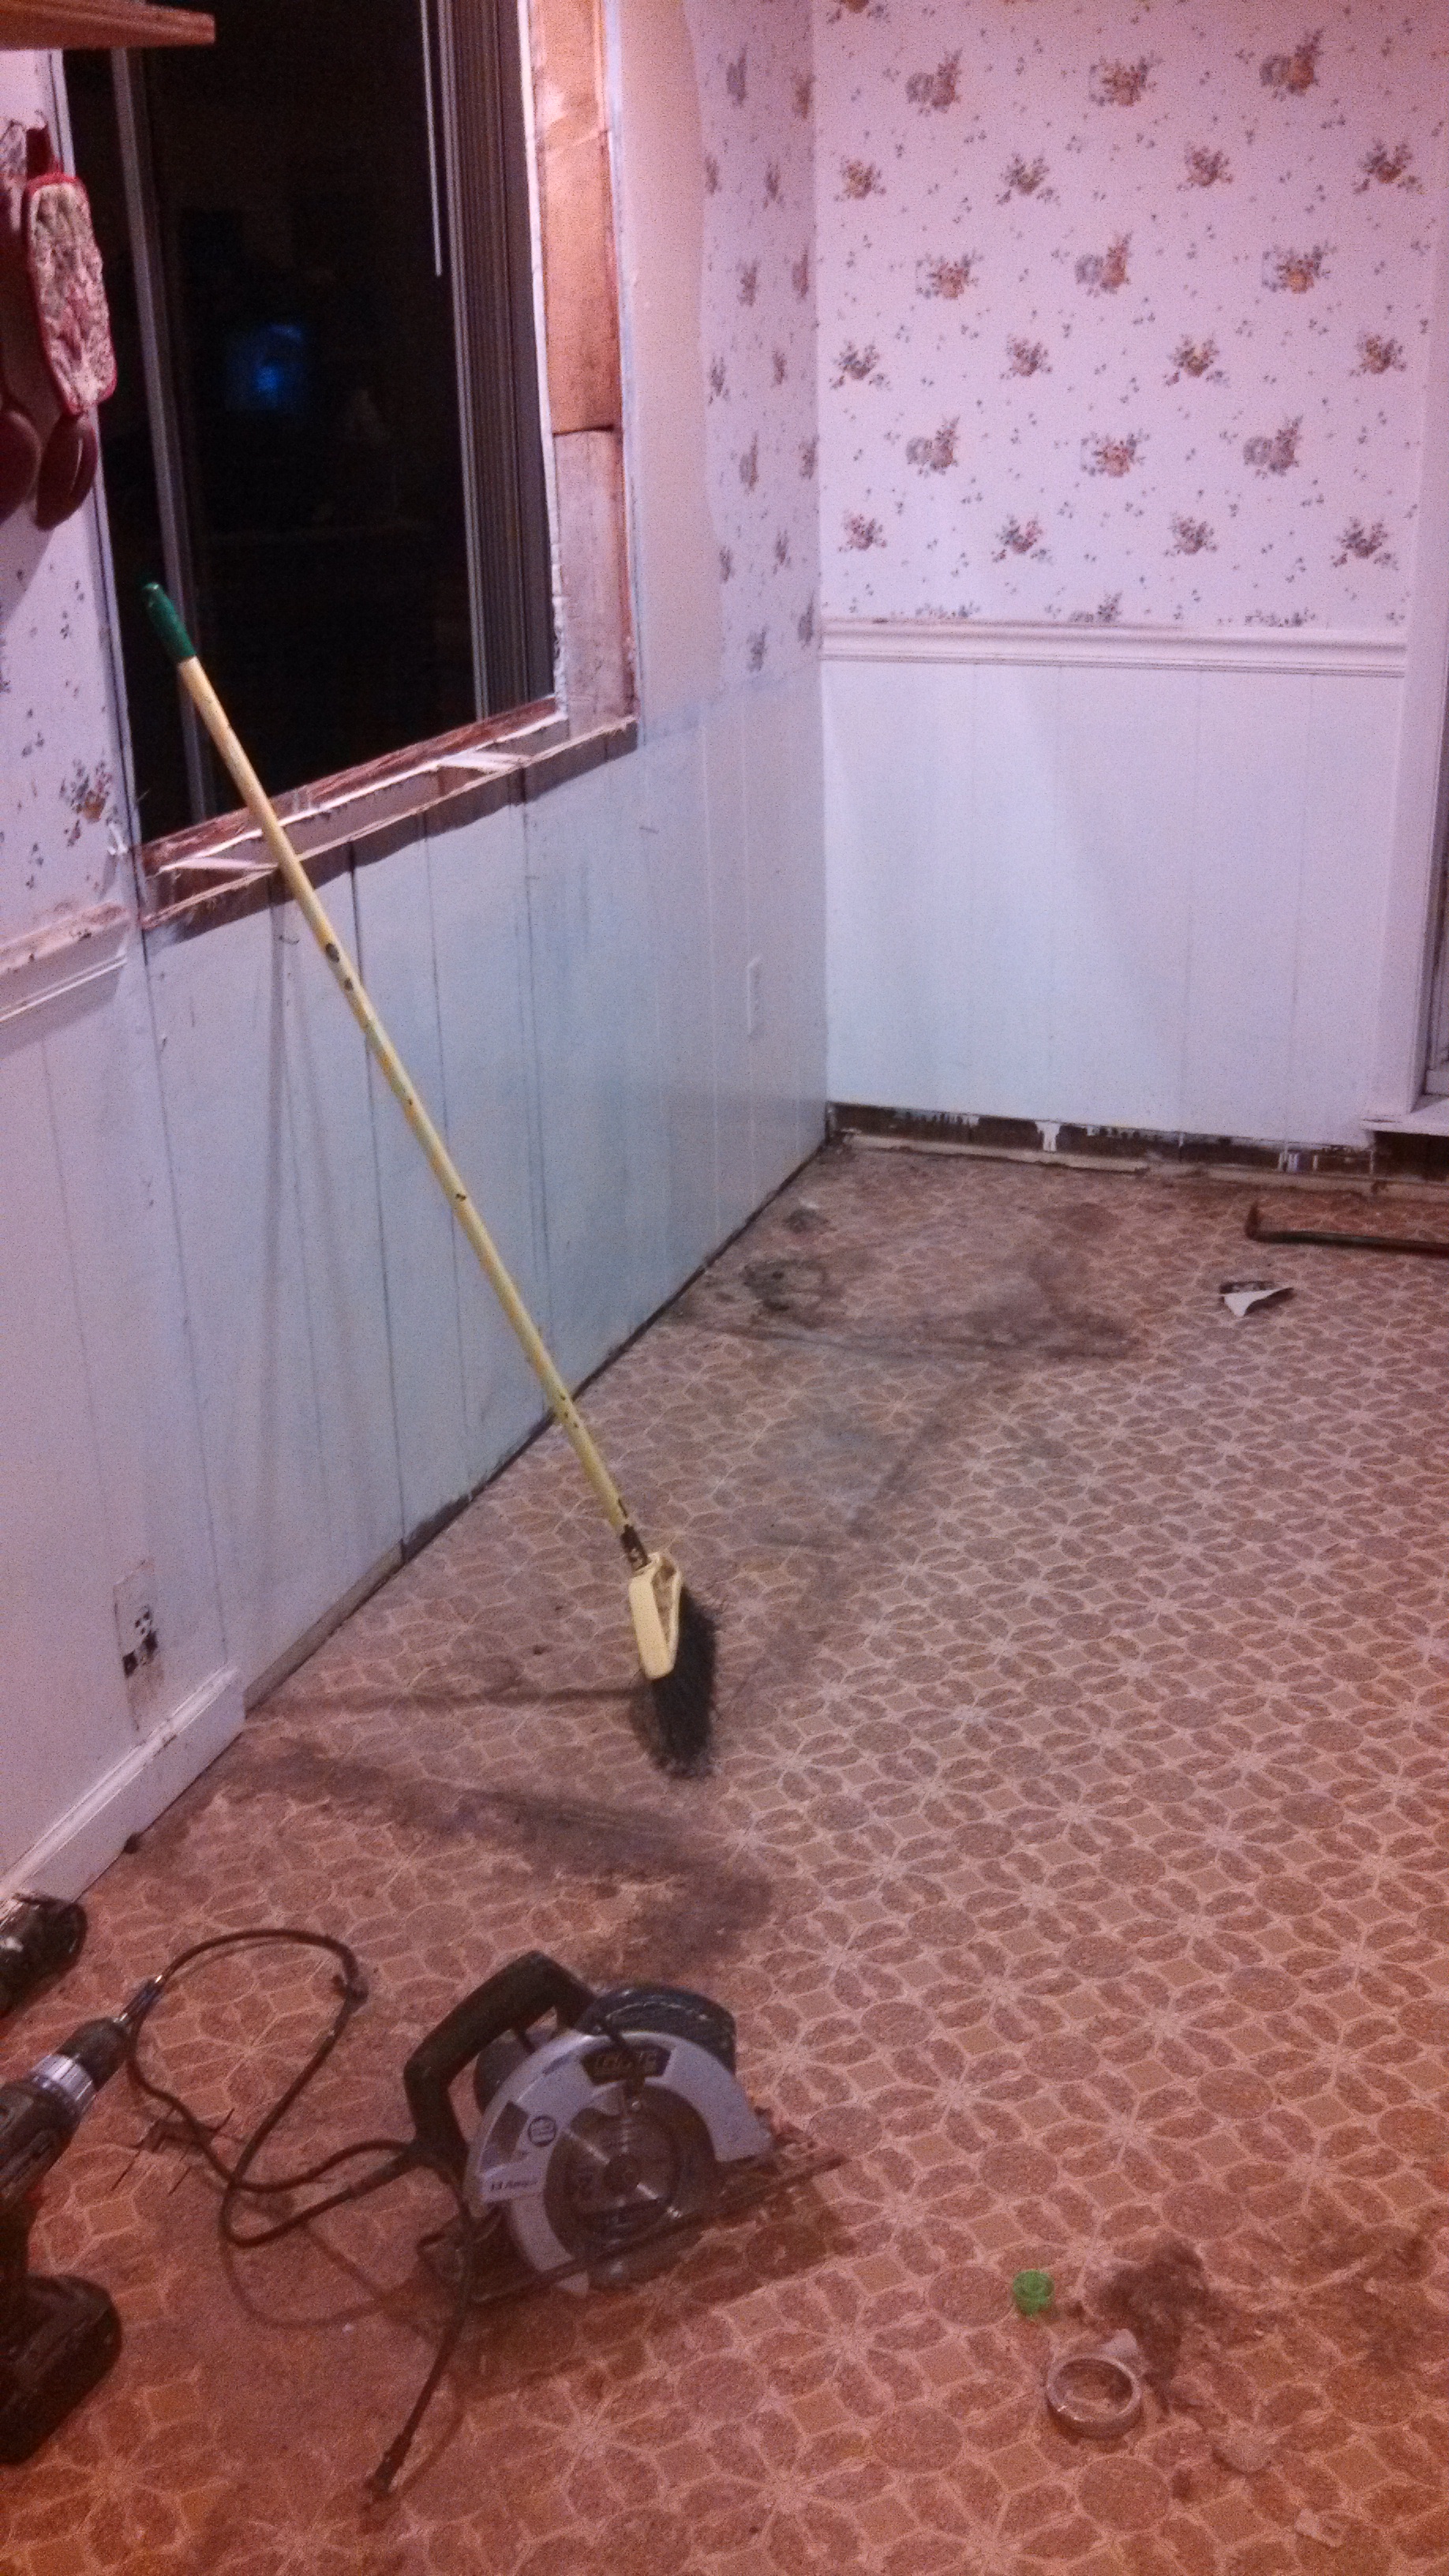 To accommodate the new stove, we needed to pull out the old stove. We decided to drive to Chattanooga on a Saturday morning to pick up our new stove, so the Friday before we decided to go ahead and pull out the old stove so we could immediately install the new stove Saturday afternoon. After we drug the old stove out, exposing more of the hideous, ugly linoleum in the kitchen. We stared at the 1970’s gift from our house’s previous occupants for just a few minutes before we made the spur of the moment decision to scrap any tentative plans and install ceramic tiles. We loaded up Ian in his car seat and took off for Lowe’s just before Ian’s bathtime, bought $241 worth of flooring materials, and came home to get a start on our project.
Because the current kitchen floor was at the same level of the living room floor, we needed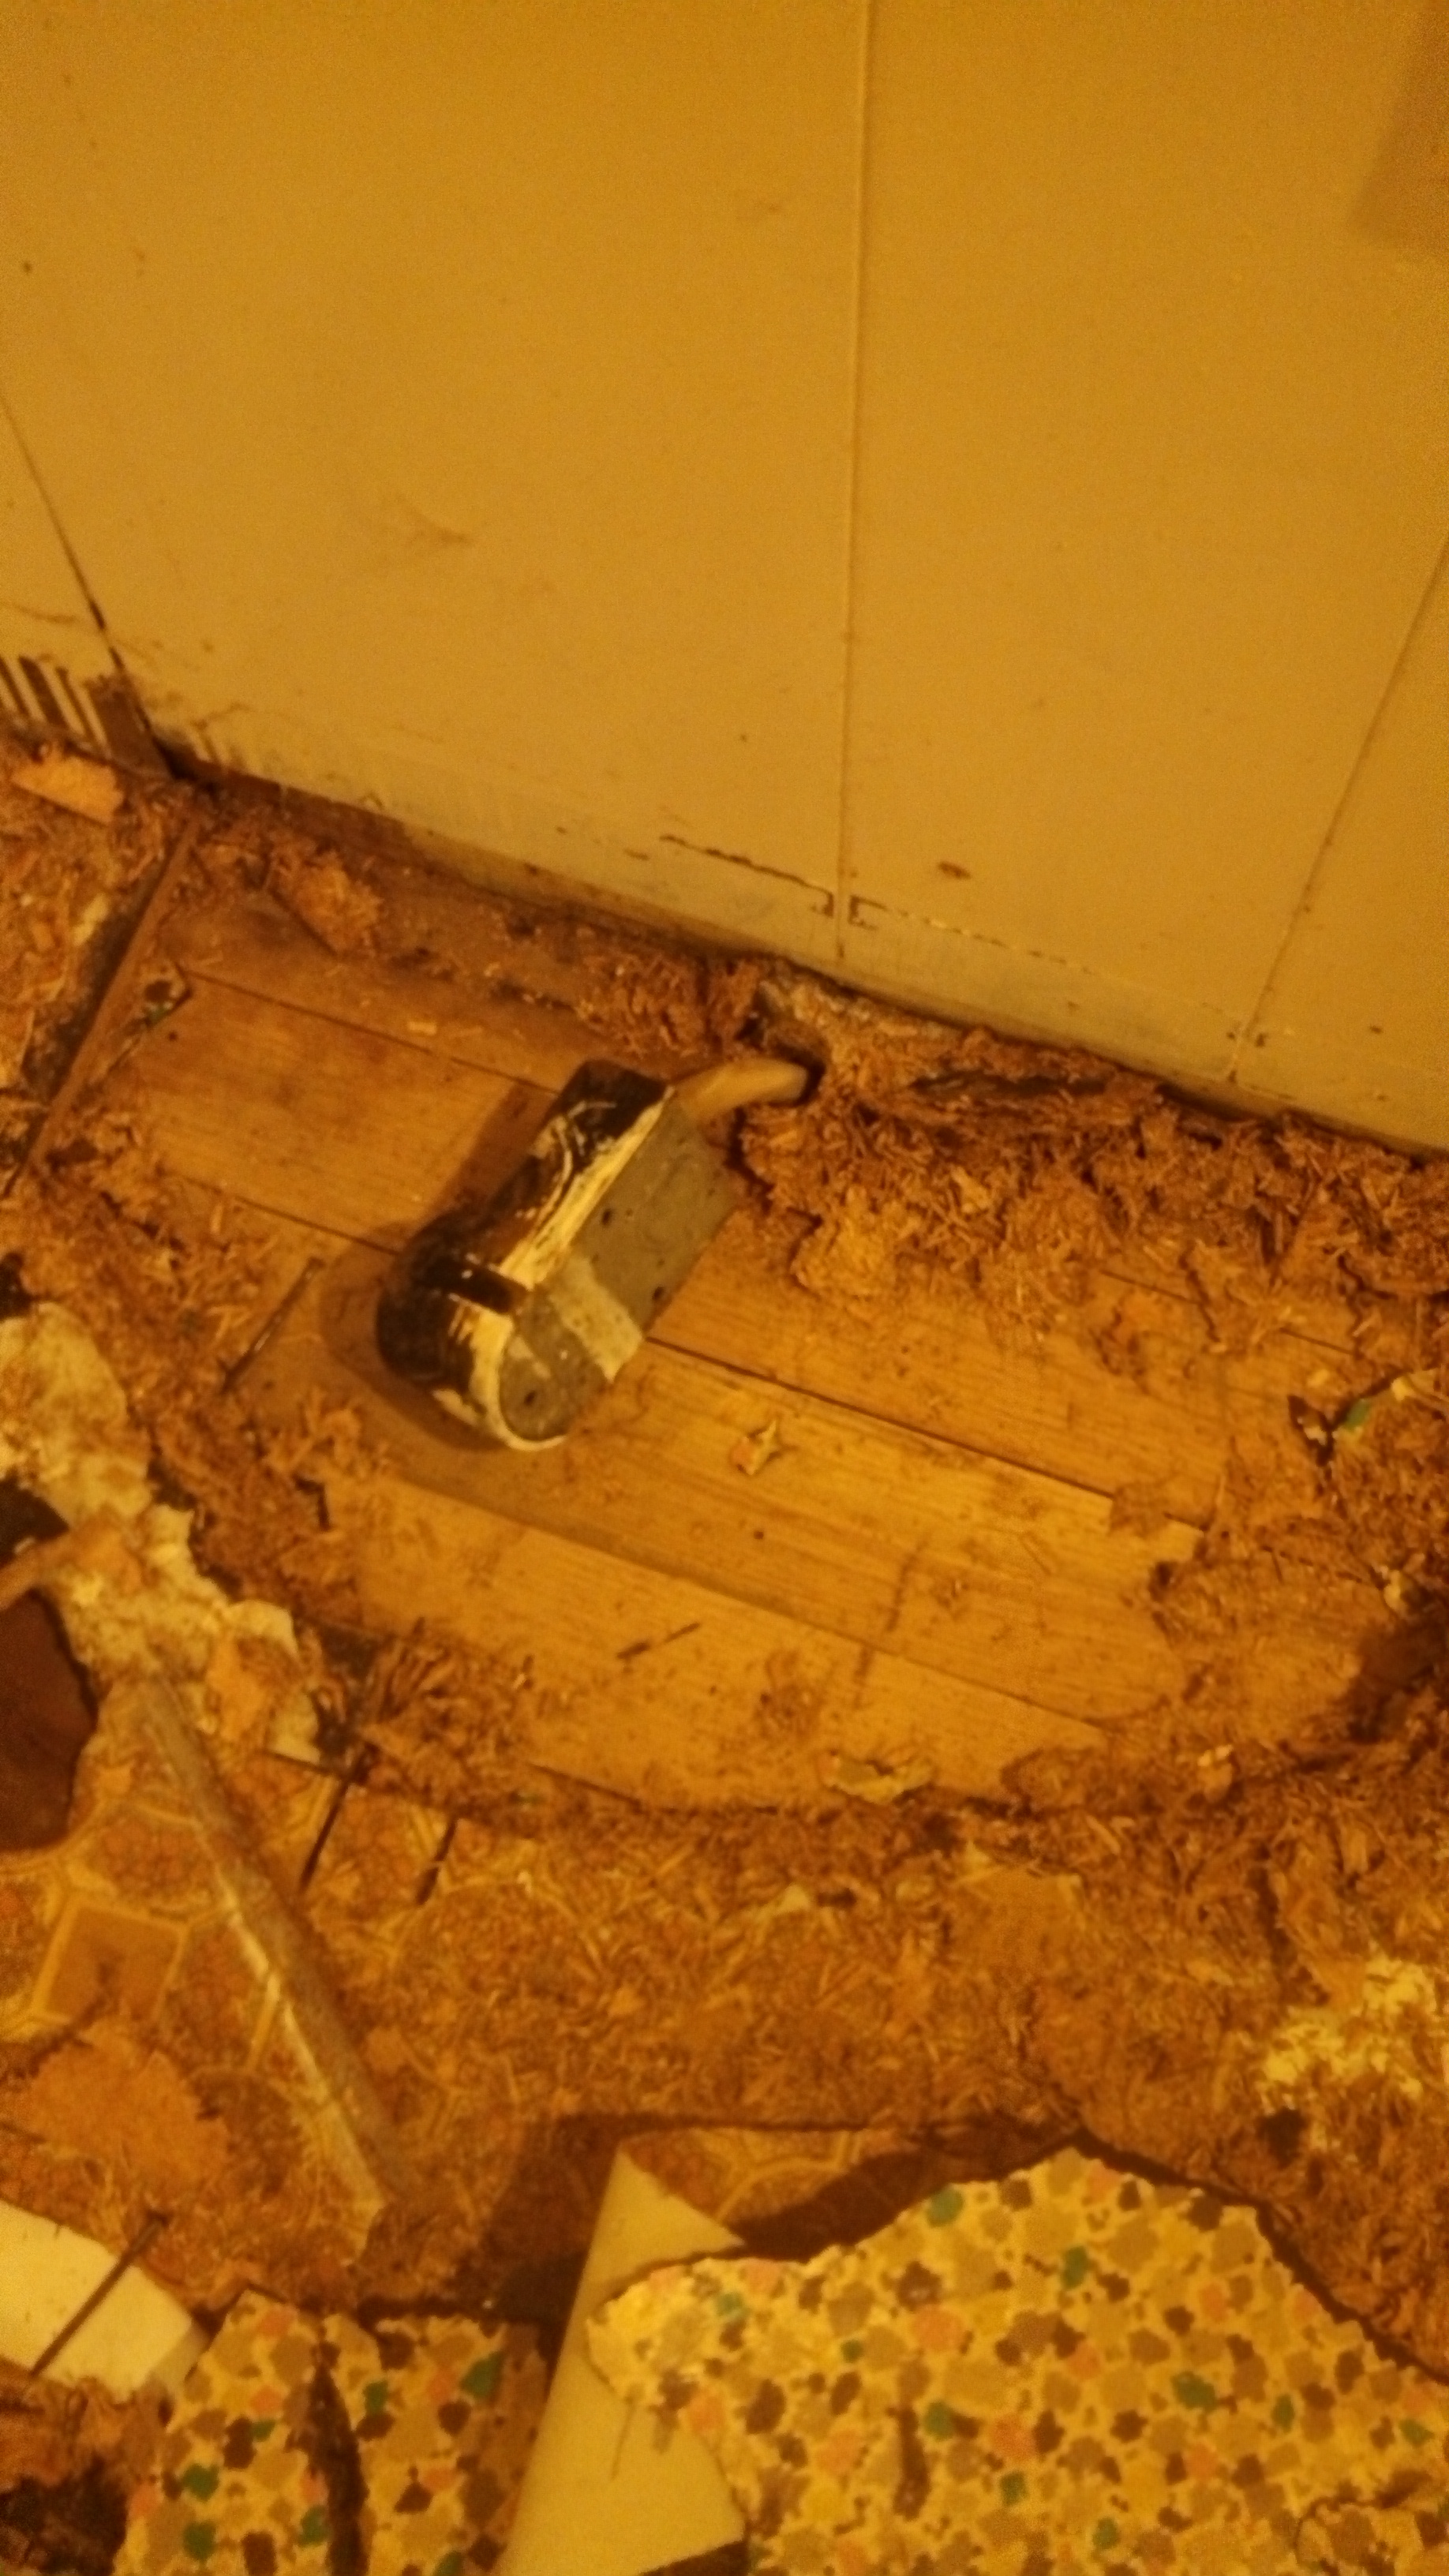 to pull up one layer of subflooring in the kitchen so that the floor would still be the same level once the tiles were in place. We decided to start pulling up floor in the stove area because that would be the easiest area to conceal if we fubarred anything. Brinn brought out a couple of crow bars and a hammer, and pried up a corner of the linoleum. He uncovered old, icky particle board subfloor, and pried the corner of it up. This exposed an even uglier layer of older linoleum. Brinn grabbed this and hesitantly started to peel this back –at this point we were terrified at what else could be hiding in this kitchen– and we discovered… the original floors for this house! Our house was built in 1900, so chances are this flooring is 113 years old.
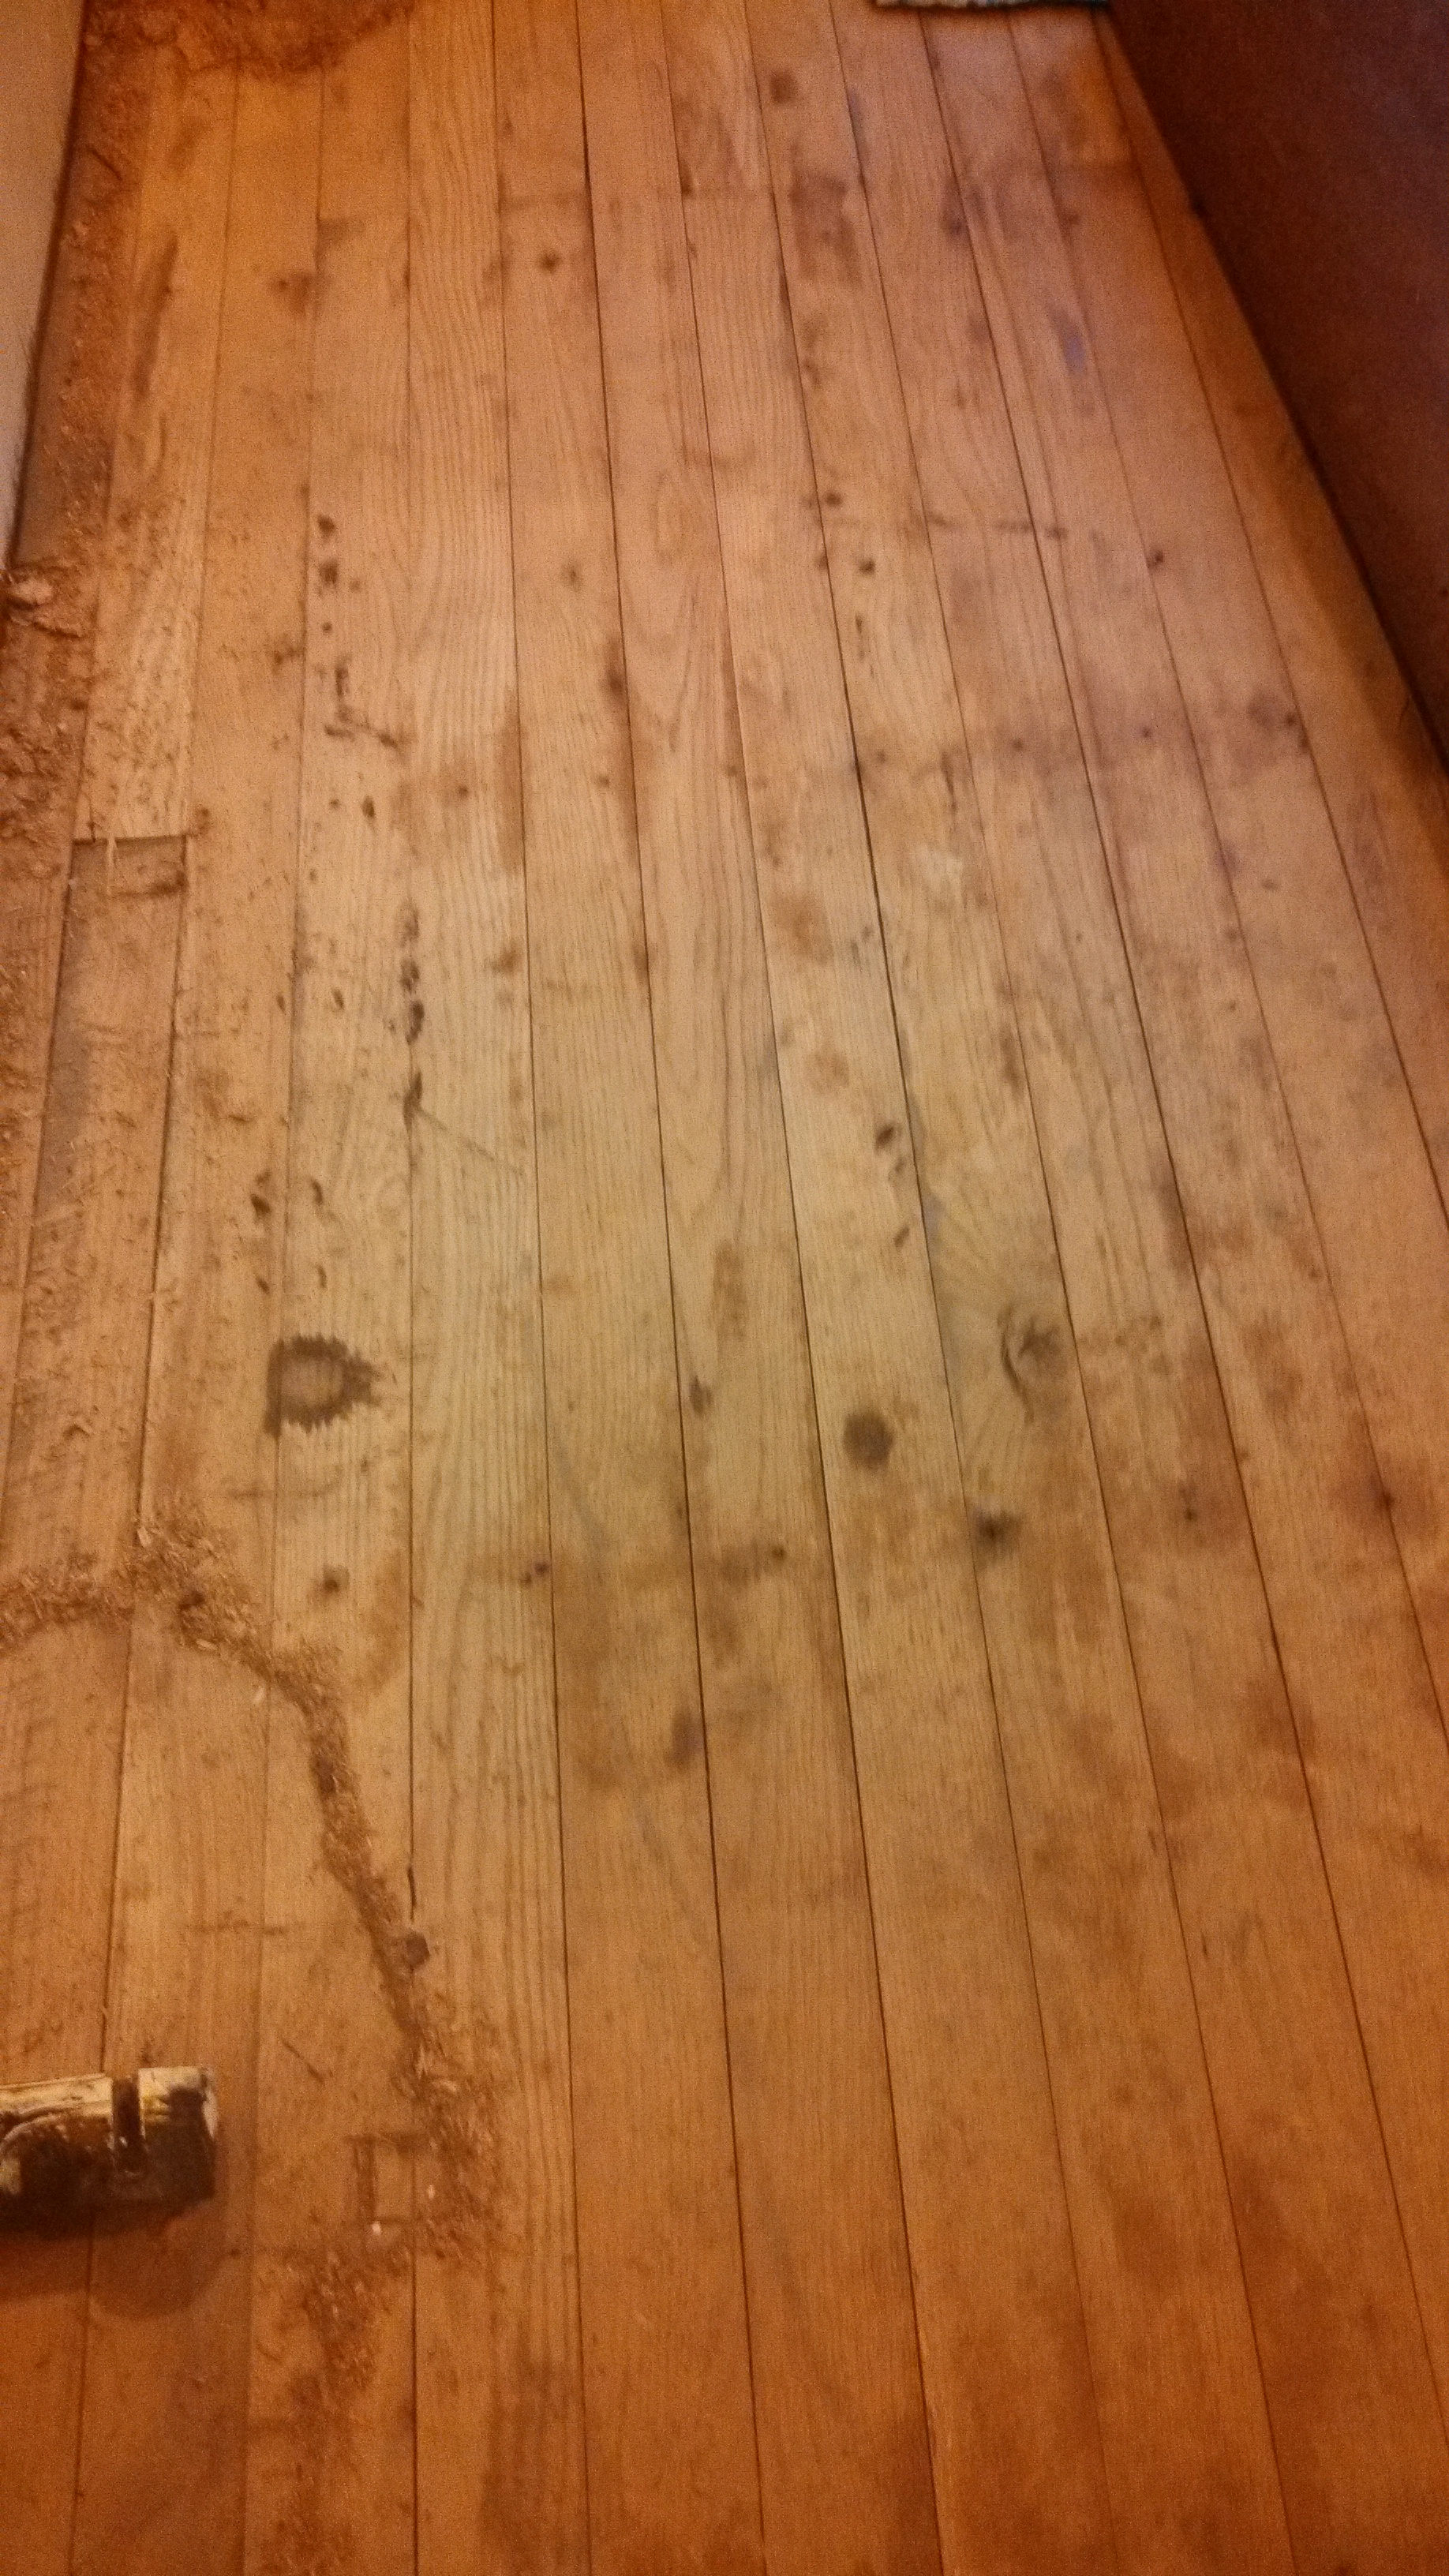 While Ian slept the night away, Brinn and I stayed up late ripping up the rest of the particle board and peeling up linoleum. By morning it was all ripped up and piled in a corner of the kitchen. I started throwing chunks of old floor in a giant cardboard box, and my sweet little Ian figured out the task, and joined in. I may be a smidge biased, but my baby’s a genius with a servant’s heart, and he helped us clean the entire floor (we had gathered up every nail the night before as we ripped just in case Ian got into the kitchen the next day). Shortly after cleaning the floor, Ian was ready for his morning nap, so we tossed him in the car seat and headed to Chattanooga to pickup our new stove that indirectly brought us a beautiful floor.
After coming home with our new stove, we researched the heck out of hardwood flooring and made a plan. I naively assumed that “staining” is what you did to a hardwood floor. I learned that while yes, you can stain a hardwood floor, that’s not the correct term for the process of making a hardwood floor usable. Several friends on Facebook thoughtfully admired the picture of our new floor, and pushed us to “refinish” our hardwood. Here’s what all my research taught me: You can’t “refinish” something that has never been done. What we needed to do was “finish” the floor, and this didn’t necessarily involve stain. Stain is simply a liquid you can put on to alter the color of the floor. Our new (old) floor is a gorgeous light wood with pink and brown streaks. I had no desire to alter these beautiful highlights, so we opted to simply “finish” the floors with a polyurethane. After lots of research, and a consultation with a Lowe’s employee in the flooring department, we opted for the oil based rather than the water based varnish. I really, really wanted to do the water based for multiple reasons, some of which were that water based doesn’t yellow the wood and it doesn’t have as strong an odor. The oil based, however, is longer wearing, and offers more protection. For a family with 2 dogs who come and go as they please, a high impact toddler, and two not-so-careful adults, longer wearing/more durable is a must for us. So the next decision was brand. Several contractors online swore by Minwax, while others hated it. I didn’t see many reviews online about the Varathane brand of floor finish, but it caught my eye at Lowe’s. While reading the label and struggling with indecision, a wonderfully informed employee stopped to ask if I needed help and I explained what we were doing. He immediately recommended the Varathane brand because it contains Aluminum Oxide, a wonderful addition to polyurethane that makes it more scratch and scuff resistant!
So Sunday morning we loaded the jeep with $241 of tile flooring equipment and returned 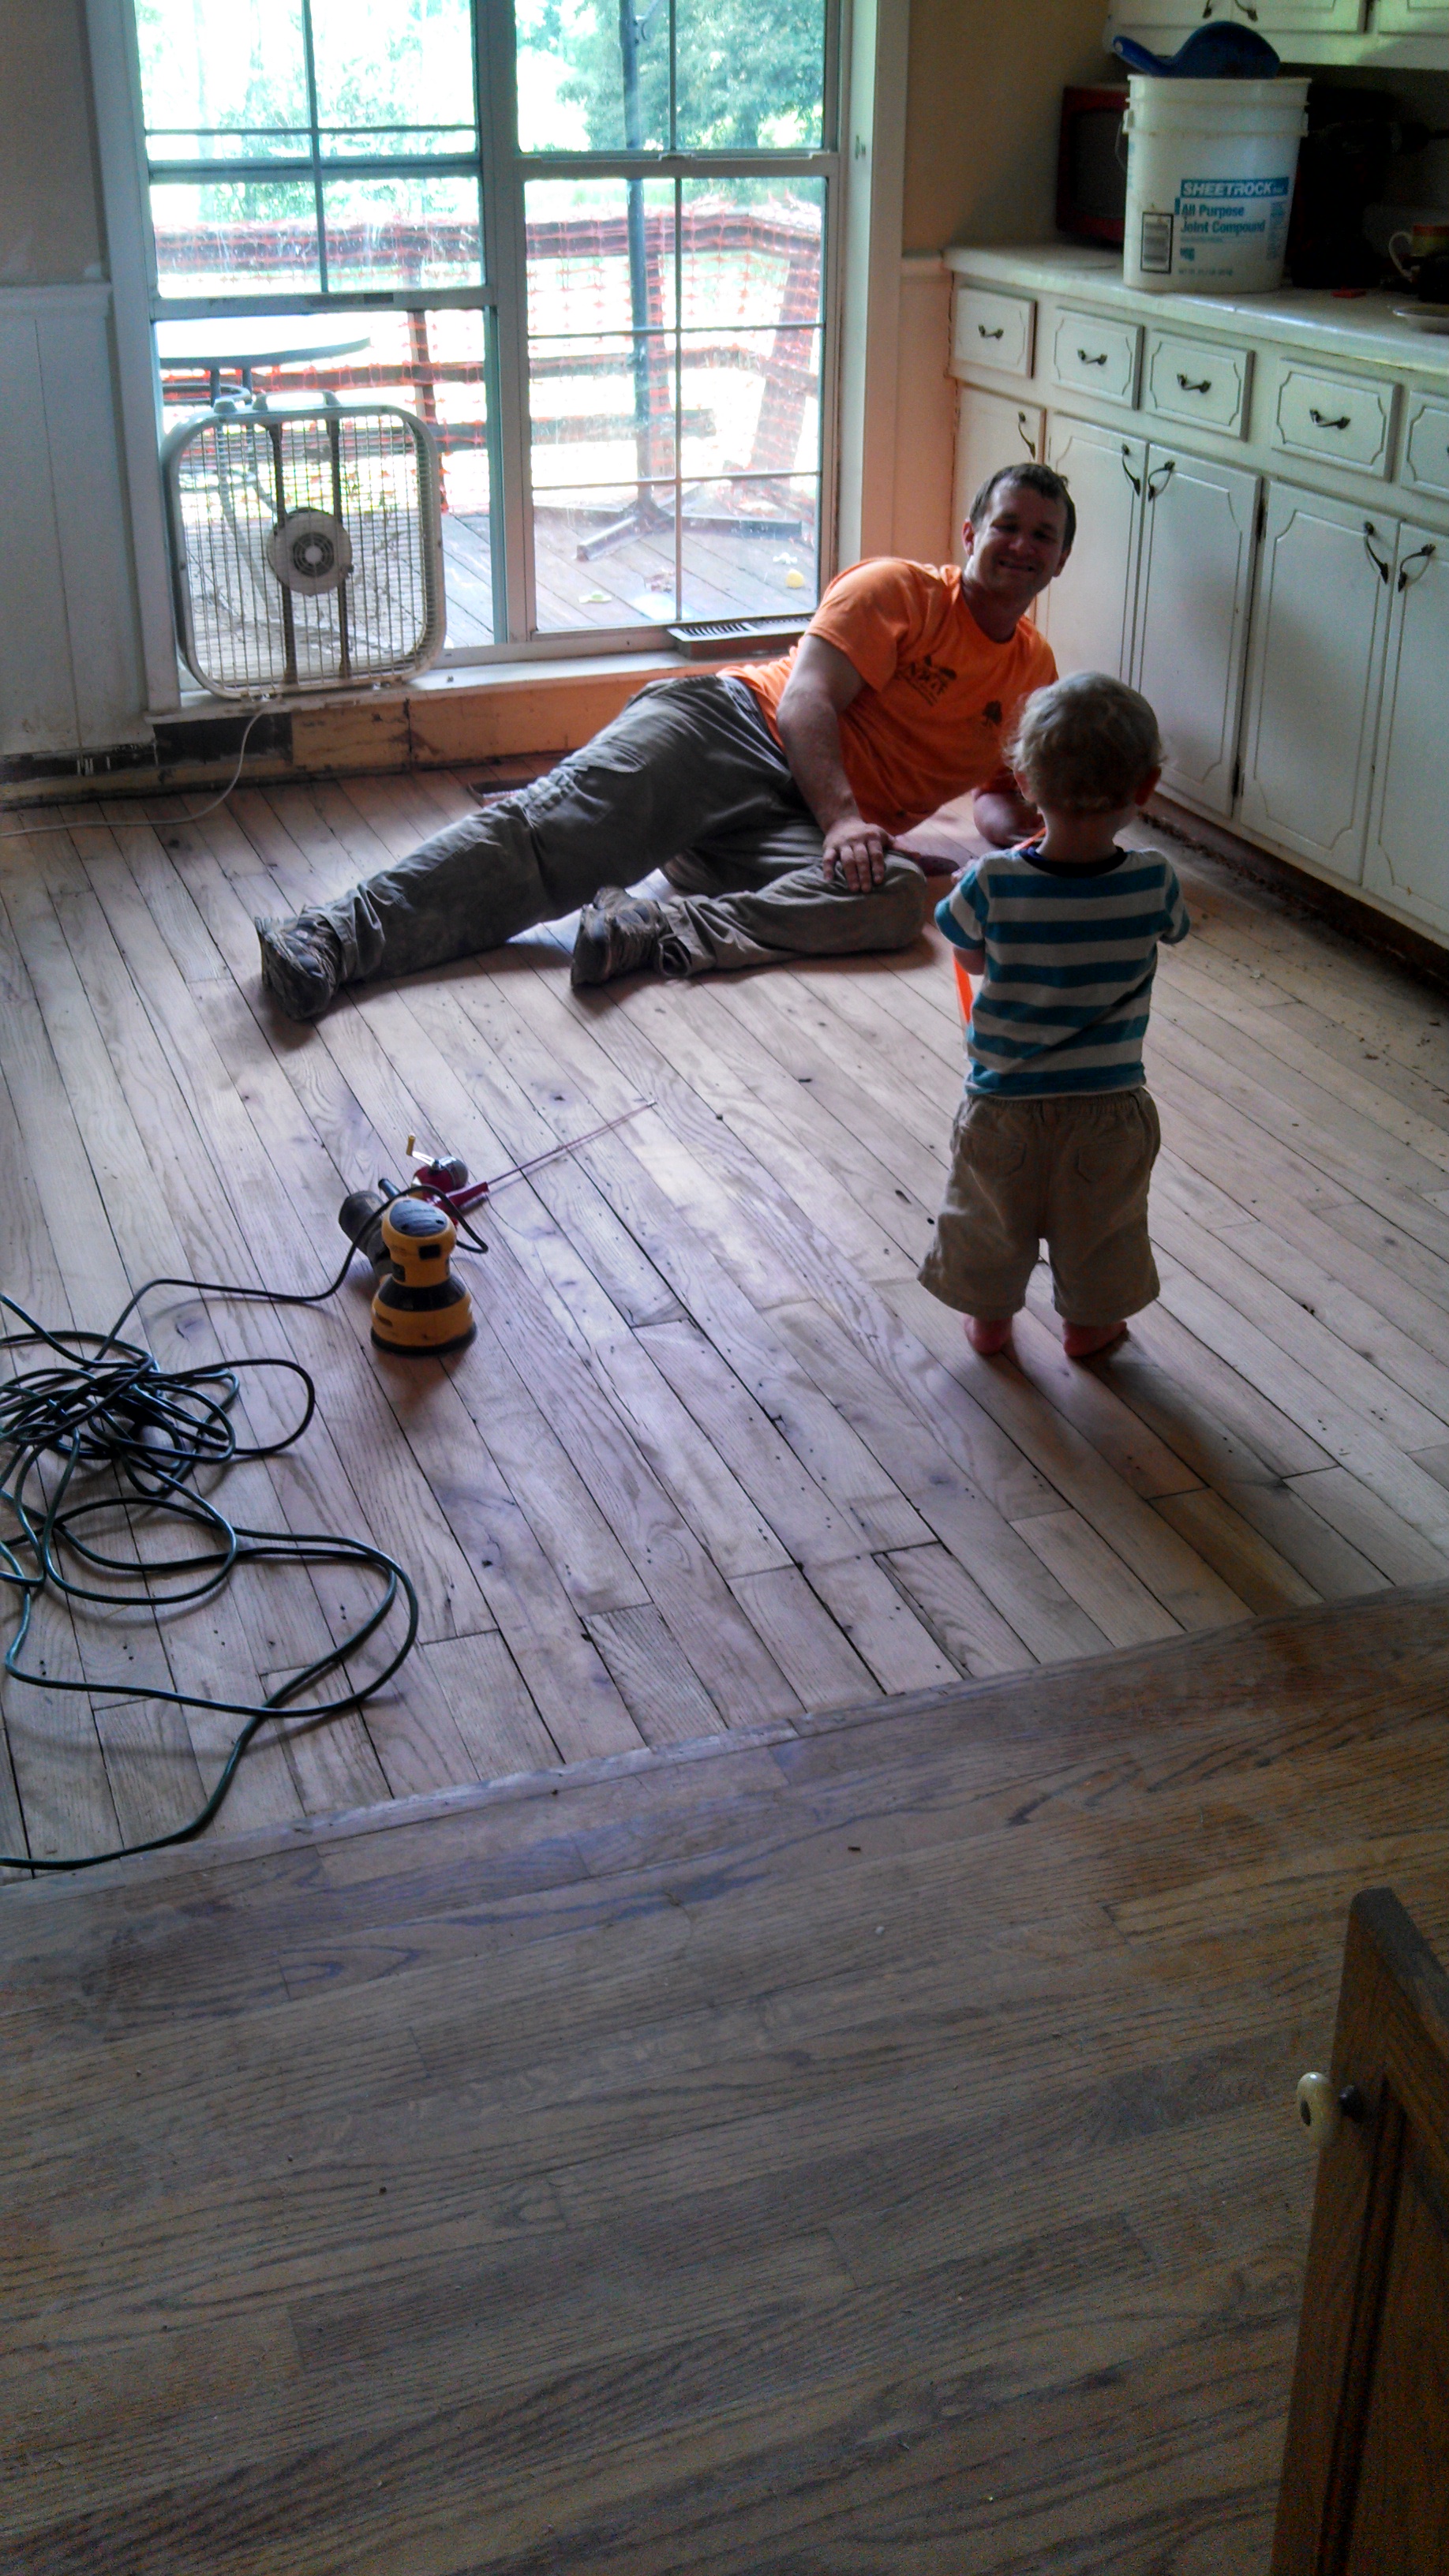 to Lowe’s to swap it for a gallon of Varathane, a shop vac, a sander, boxes of sandpaper, mineral spirits, rollers, and a brush. We actually receive $1 back! After a quick consultation with a few of the employees, a phone call to a friend of Brinn’s who works with wood, and we were ready. Brinn sanded the entire floor down with 60 grit sandpaper, then 120 grit sandpaper, then 120 grit sandpaper. This took about a day and a half to complete. By Monday night, when Ian went to bed, we were ready to roll out the Varathane. We waited the required four hours, oohed and ahhed over our achievement, then plopped down with 120 grit to sand by hand. After roughing up the entire floor, vacuuming up the dust, wiping it down again, we were ready for coat number two, and bed! The next morning, Brinn went back to sanding by hand, and was able to put another coat on when Ian went down for a nap. And so the pattern continued around Ian’s sleep cycle until the floor was finished!

Now if only I would’ve moved our cabinets, refrigerator, and stove back in at this point, we could’ve resumed normal life. But while everything was pulled out, we decided this is the perfect time to move forward with cabinet and counter painting. Look soon for the next installment of our kitchen makeover!
