
So after finishing our new (old) hardwood floor in the kitchen, we were ready to tackle the next step in our kitchen remodel: the countertops. We had initially planned to wait until a better time (is there ever a better time for a remodel?) to take on this next project, but since we’d already pulled two of the cabinets outside for the floor makeover, we decided to take advantage of having these parts already on the deck. And the pretty new floor made all other areas in the kitchen appear dingy and unattractive by comparison.
I’m a researcher, so naturally I’d already researched all the possible techniques and kits available. We really liked the look (and process) of the Rustoleum Counter-Top Transformation Kit, but the $250 price tag had me a little concerned. The reviews I found said to be sure you over-buy the amount of materials you need or you’ll run short. After using the online guide to figure out the amount of kit we’d need, I learned that we’d need two kits! For that much I could have some nicer countertops installed. That just wasn’t going to work into our budget with all of the other plans I have for the kitchen. The next kit I considered was Giani. Giani’s price is much more reasonable, but after watching the video on the method, I wasn’t convinced it was any different from the faux granite diy on Pinterest. In this method, women used sea sponges, small paintbrushes, and cheap bottles of different colors of acrylic paints, and painted a granite-like pattern on their counter tops. To heck with that!
The kits and methods were sounding too expensive/labor intensive. This lead me to take the findings from my observations, and contrive my own plan.
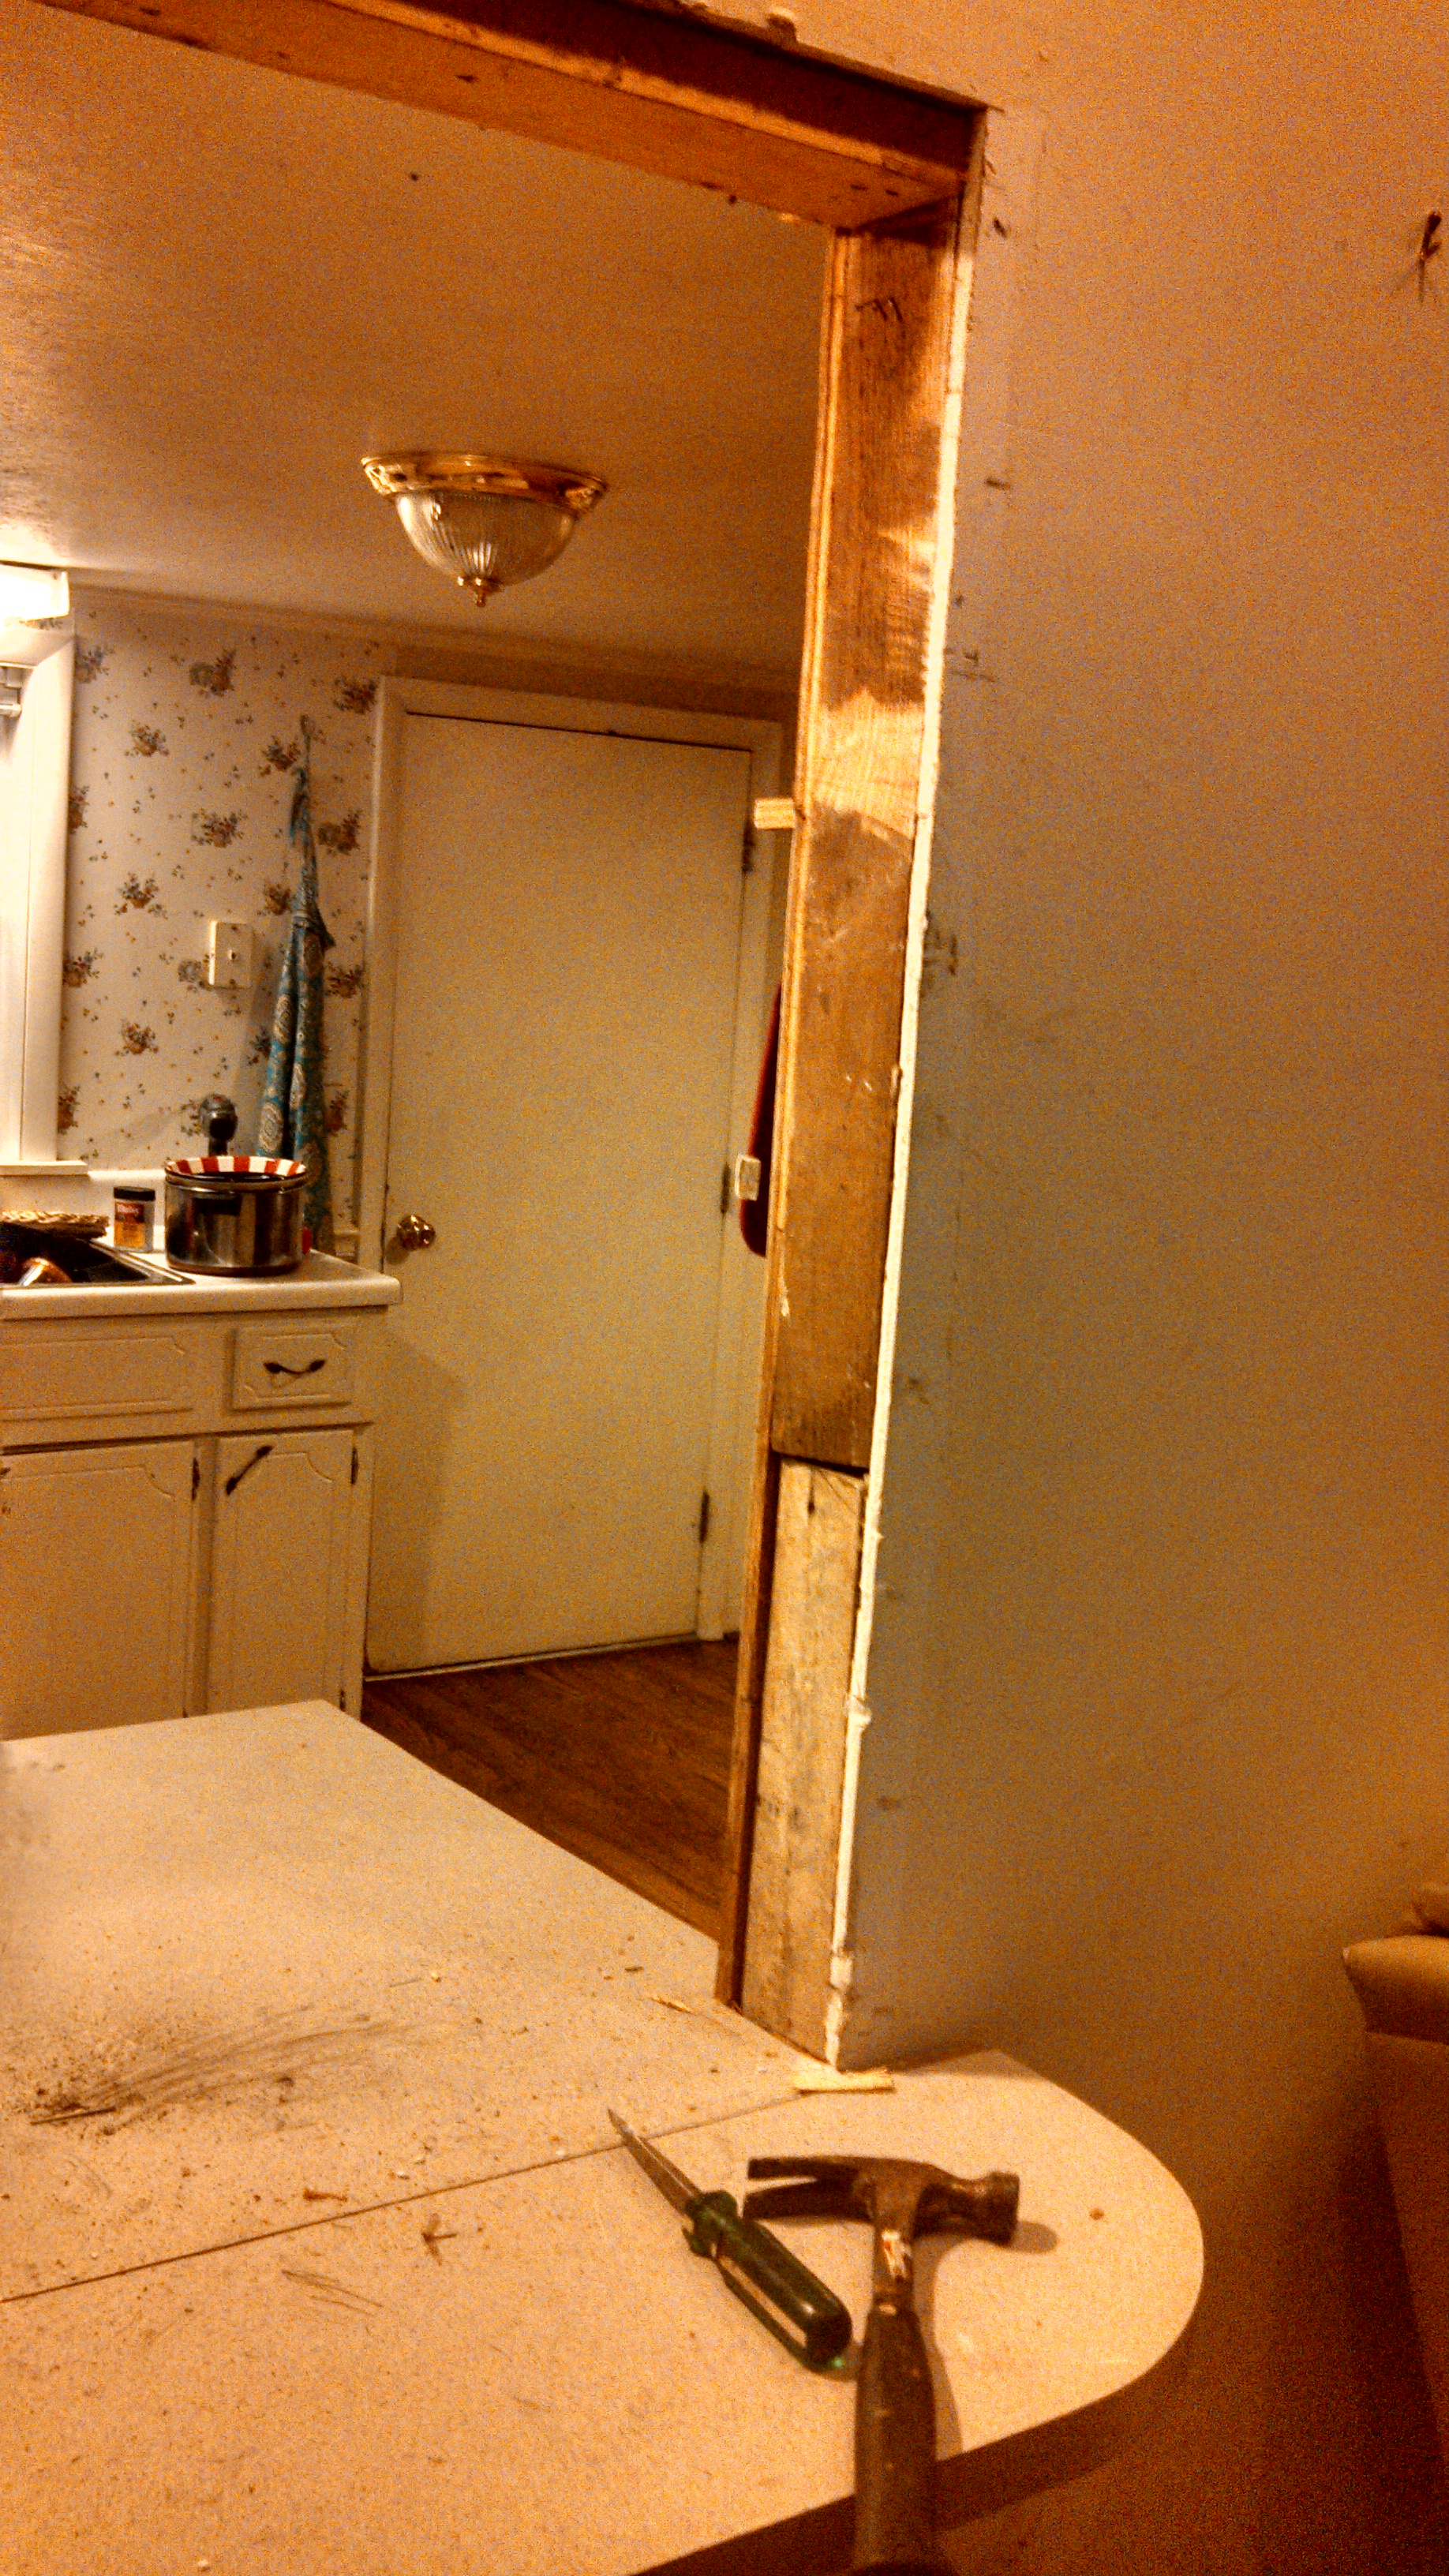 The first step was to pull off the ugly coverings from our countertops. For all three counters in my kitchen, they each have a different colored top. One is fake butcher block, the back counter is white with fake gold marbling (hello 1970), and the counter by the stove is an odd blueish/purplish pattern. You can kind of see it in the bottom left corner of this photo from when we started pulling counters out to pull up on the old flooring. Gross, right?
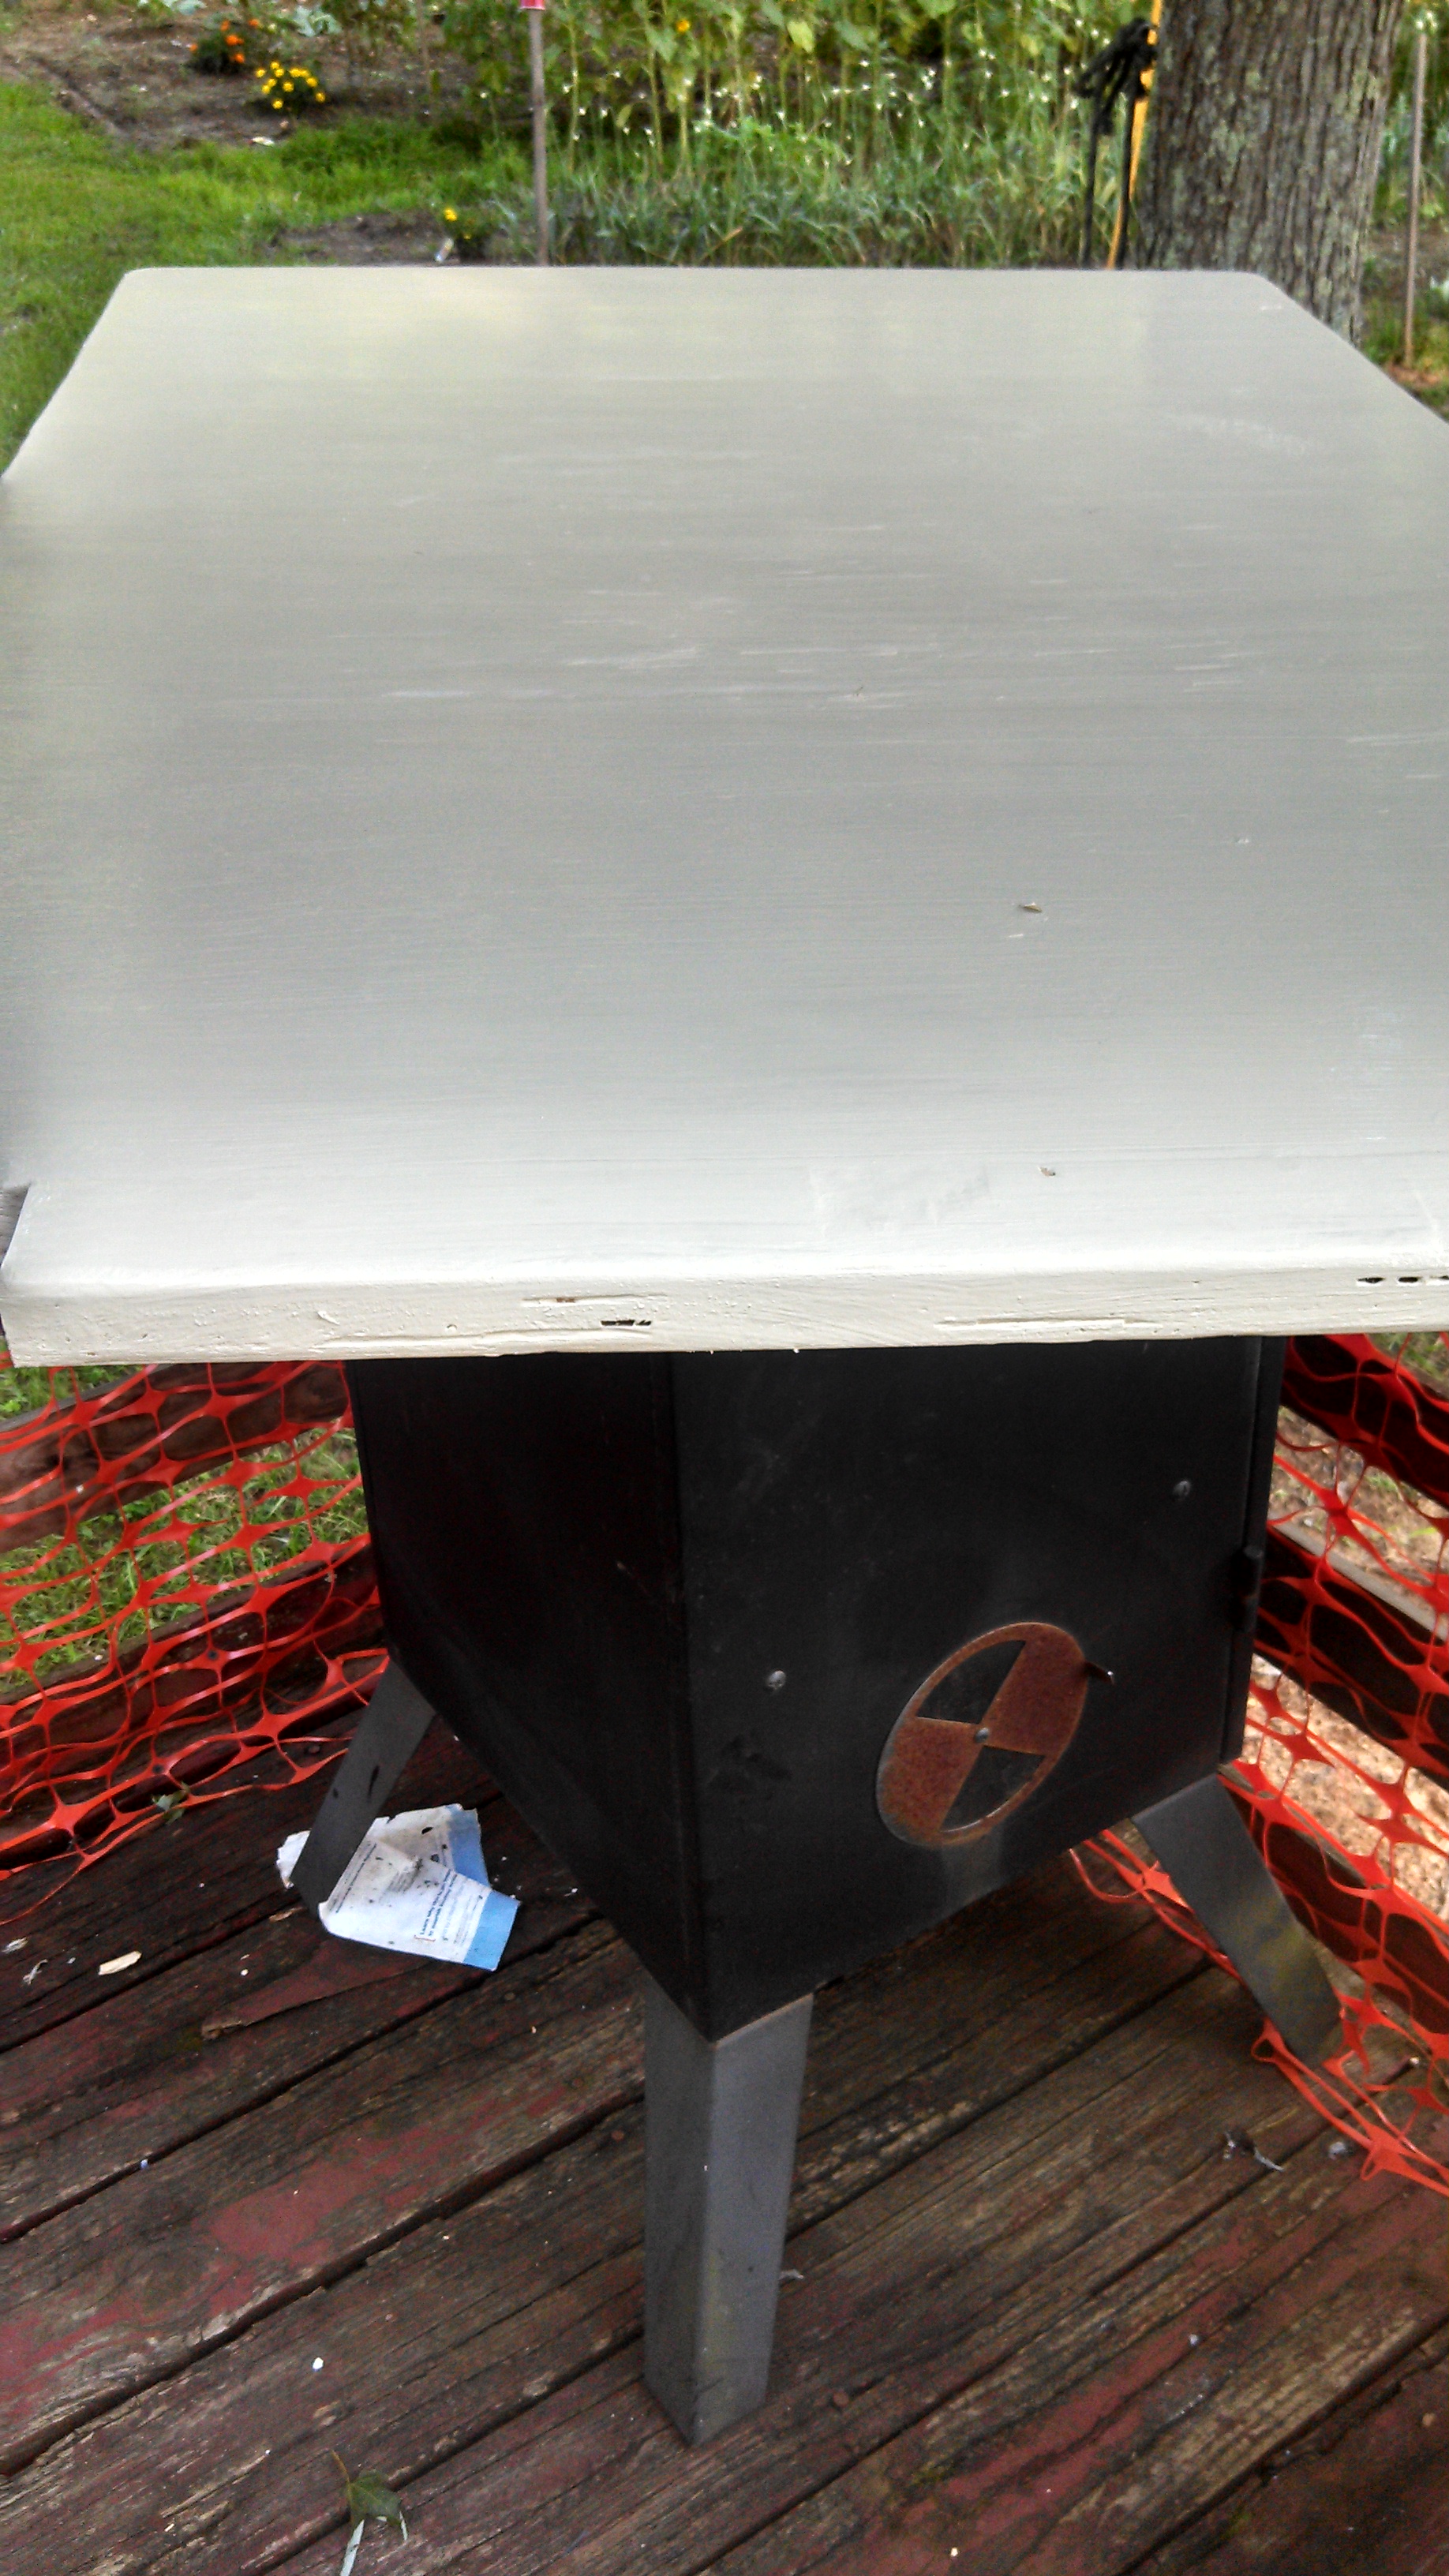
After pulling off the yucky coverings, Brinn sanded down the wooden tops to counters. There were some holes left from staples, and several rough places, so he filled these in with wood filler, then sanded again after the wood filler dried.
After sanding, Brinn painted on 2 coats of a neutral (leaning slightly towards cool) beige color. He allowed about 2 hours of drying between coats, and a light sanding in between as well. Let me take this chance to say what huge fans we’ve become of Lowe’s Valspar paint and primer in one. It’s fabulous stuff! It goes on smoothly, coats thickly, and has beautiful color.
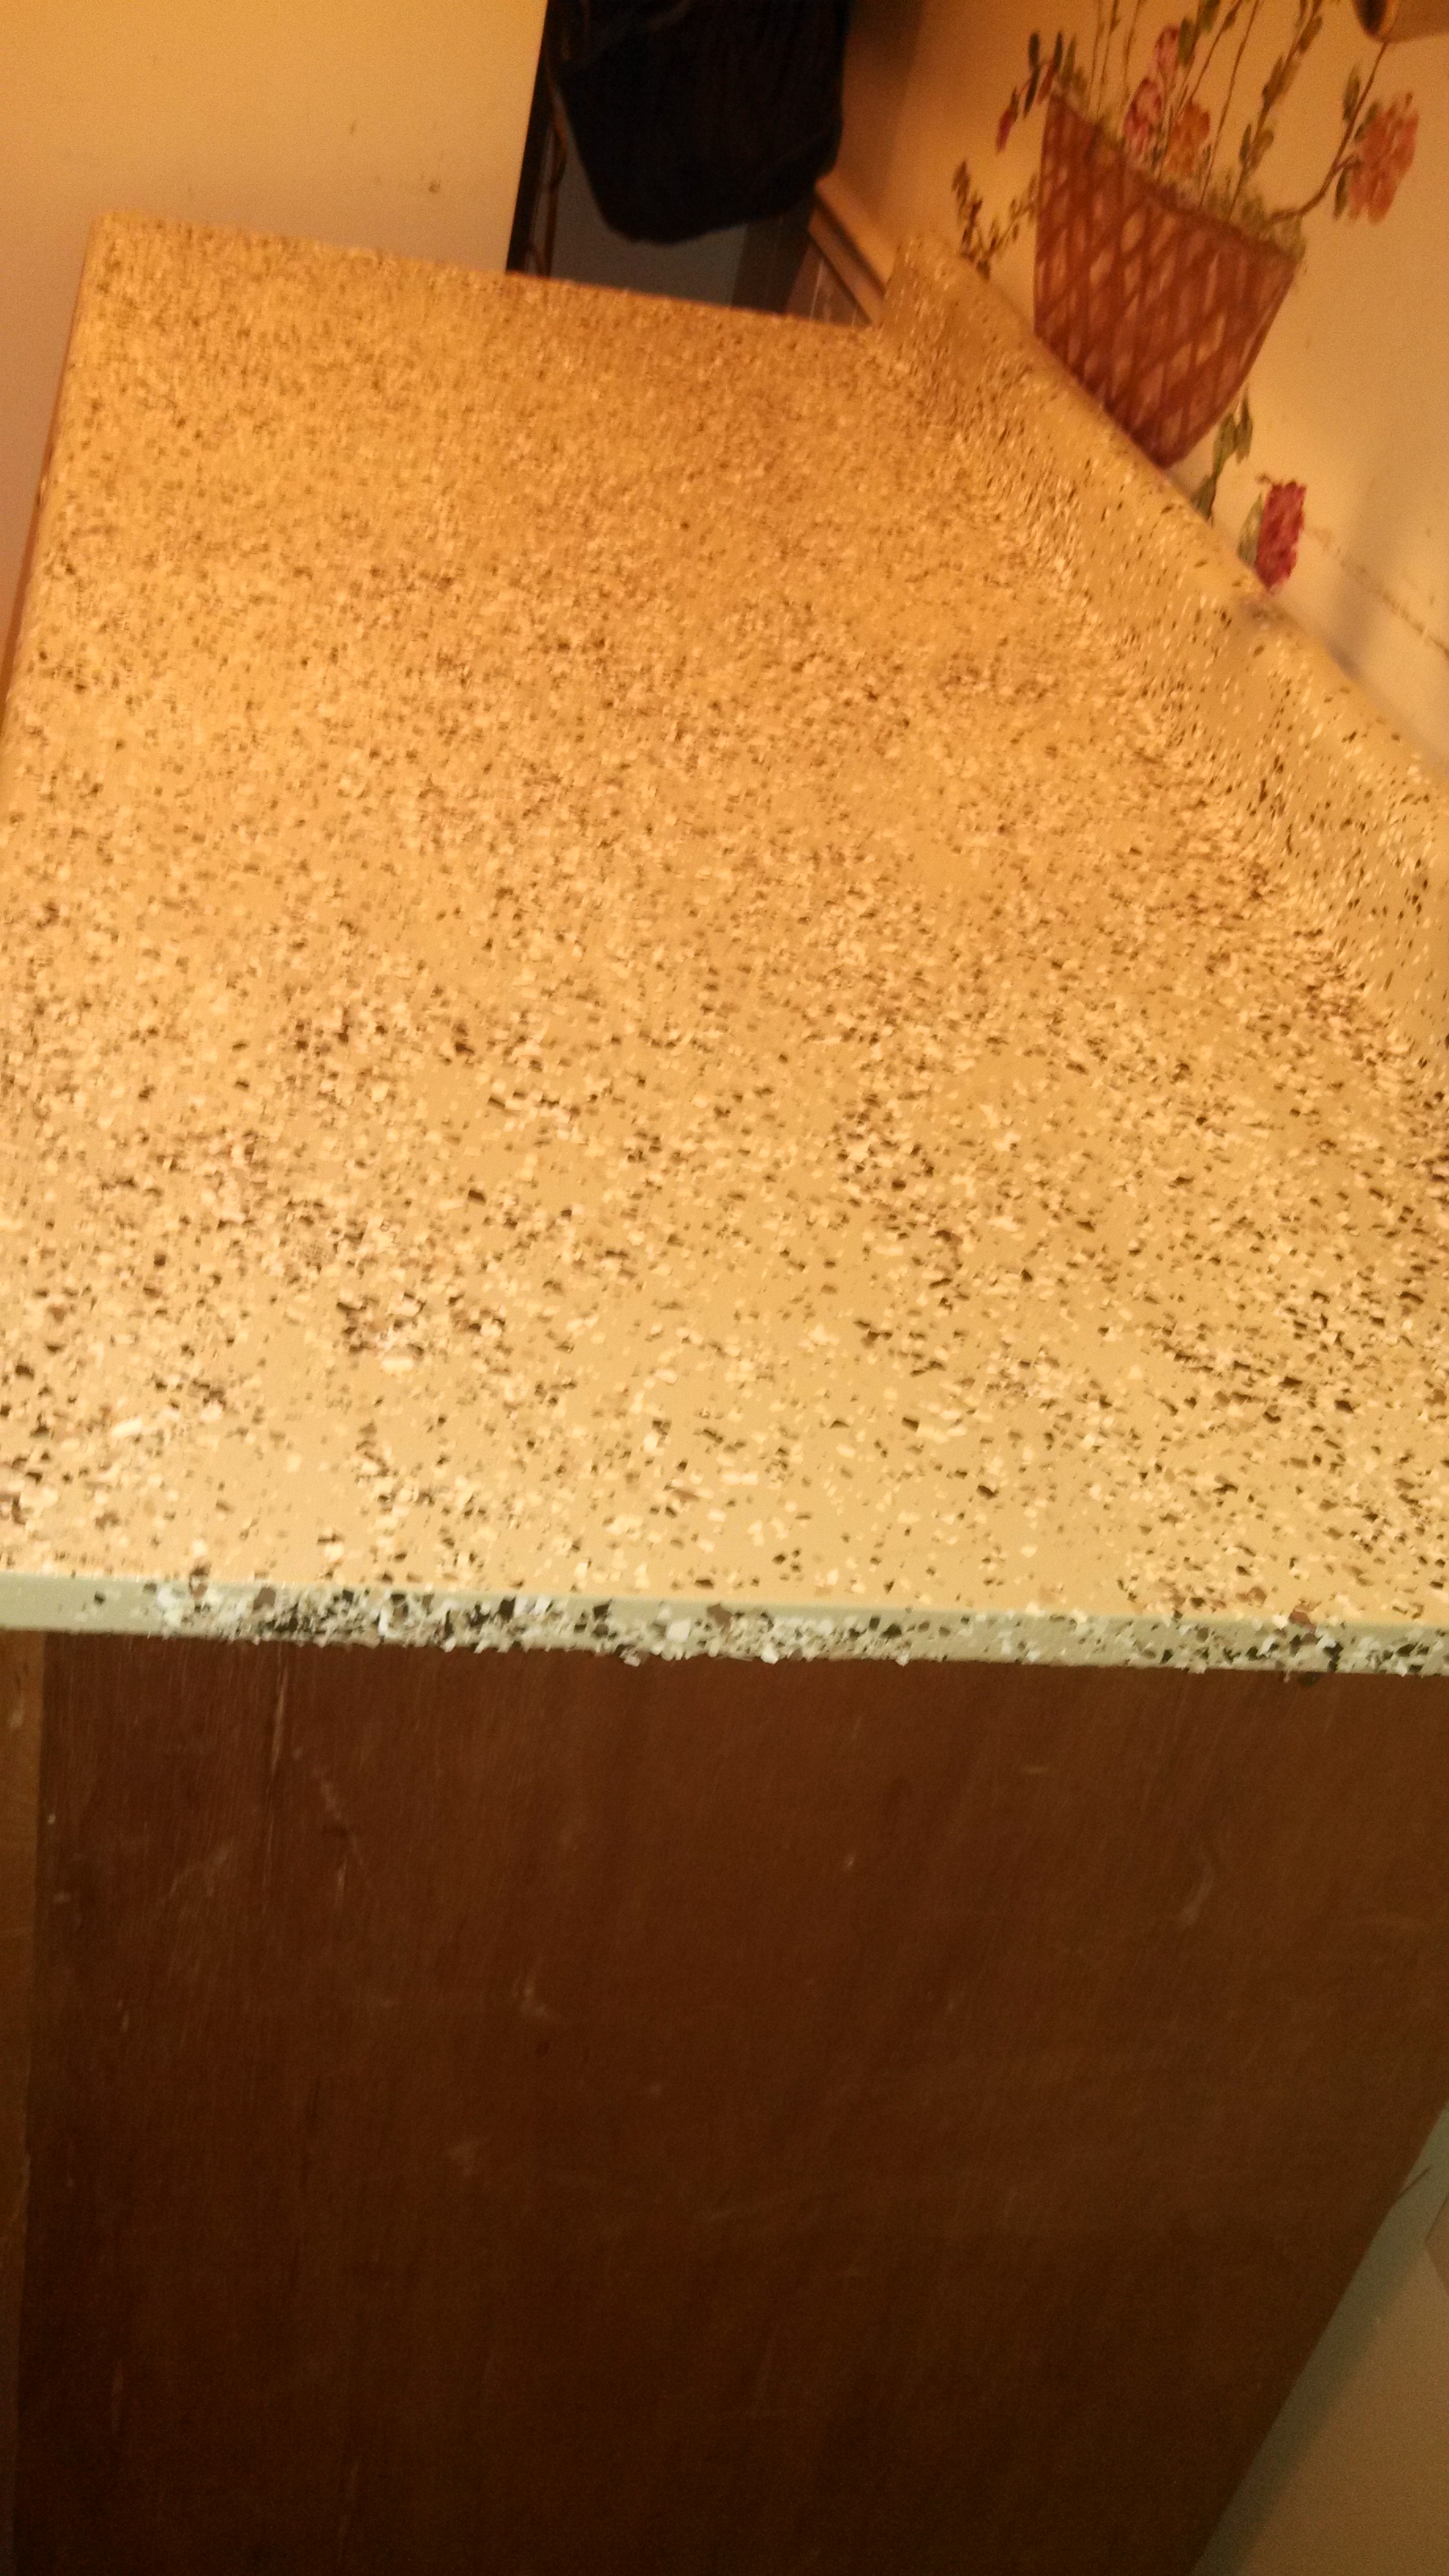
 Immediately after the second coat, while the paint was still wet, Brinn sprinkled on paint chips. These are those little flecks of different colored paper that you can buy to sprinkle down on a garage floor after pouring the concrete. At less than $10 a can, I felt this was cheaper than Rustoleum, and easier than trying to paint little granite patterns throughout our entire kitchen. He poured them on thicker in some areas, and thinner in others. It was all according to how the mood struck him each time he had a new counter section to work with.
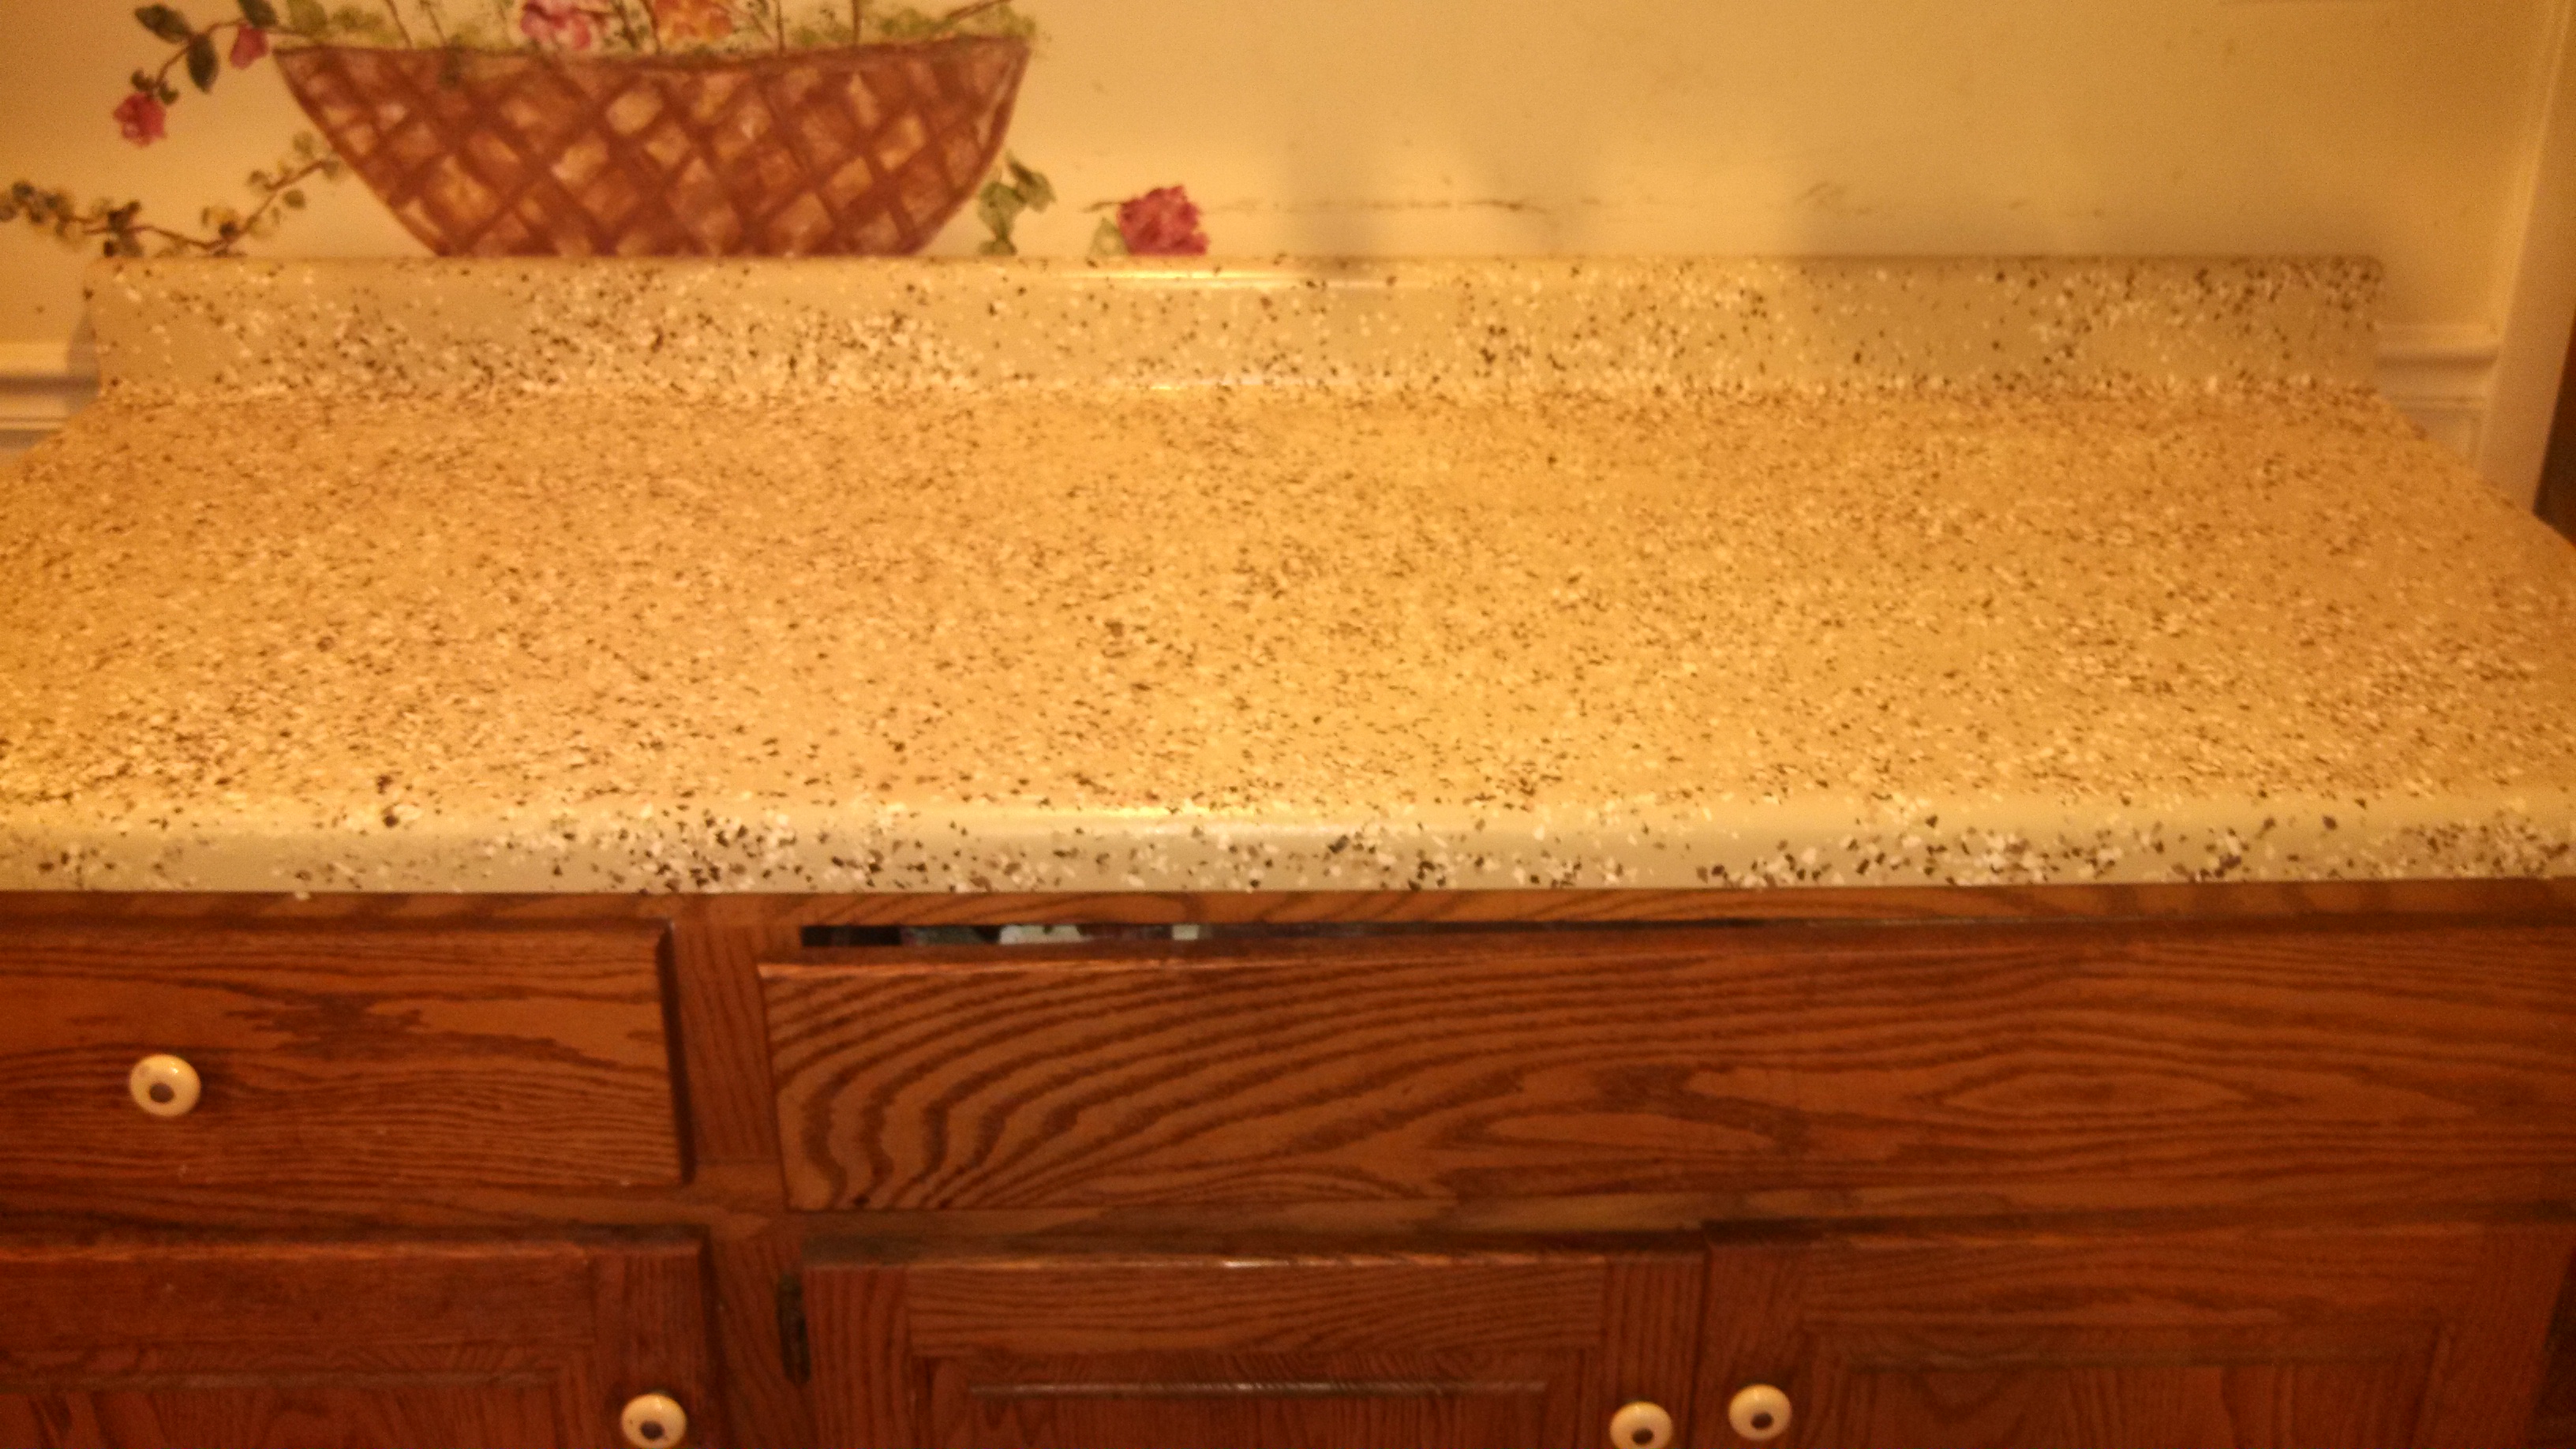 After the base coat dried, permanently sticking the paint chips to it, Brinn covered the whole surface with 10 or so coats of polycrylic. This was to help seal everything, give the counters a smooth surface, and waterproof the whole shebang.
Does the end result look like granite? Heck no, but I finally have matching counters in my kitchen of a more neutral color that actually goes with my preferred color scheme. Another problem we’ve run into is heat. These countertops are not tough. If you set something hot on them, the polycryl turns back to a whitish, milky color (like it was still in the can) until it has a chance to dry again. Also, Brinn set a crockpot directly on the counter, and it yellowed that area, so we had to sand that spot down and redo it. This hasn’t been a major hangup for us, though, since I have a multitude of large cutting boards, so I’ve arranged them strategically around the kitchen (particularly by the stove), 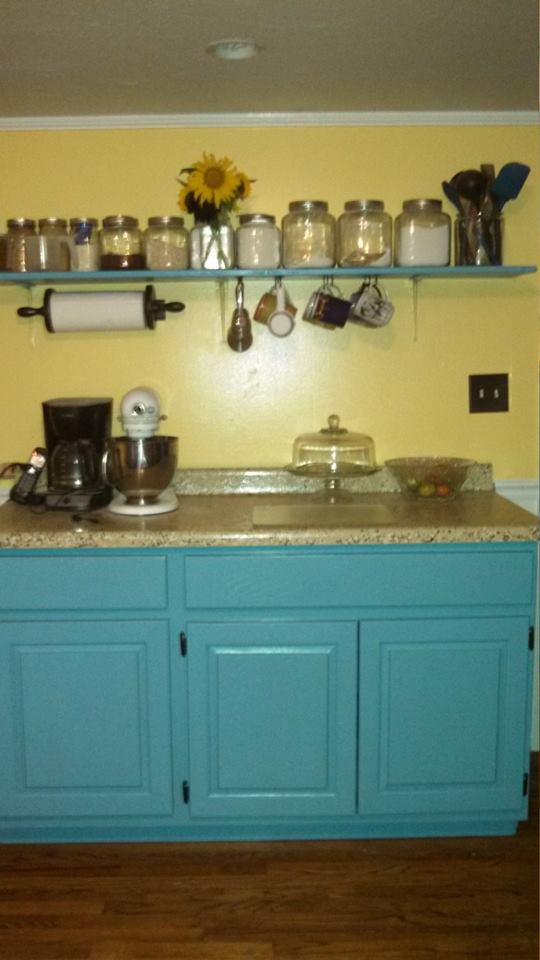 and now I always have an area to set a hot-dish down.
While Brinn did all this hard work, did I just stand by taking pictures? It would appear so, but actually I spent a great deal of time becoming acquainted with our hand sander. I’ve learned quite a bit about different grits of sandpaper, removing hinges, and counting screws. I’ve also learned several things the former owners of our house should’ve been shot for. Such as leaving cabinet doors in place to paint them, getting paint all over the hinges. Stay tuned for the next installment as I share with you the adventure of cabinets and my new addiction to spray paint.
